VPN connection
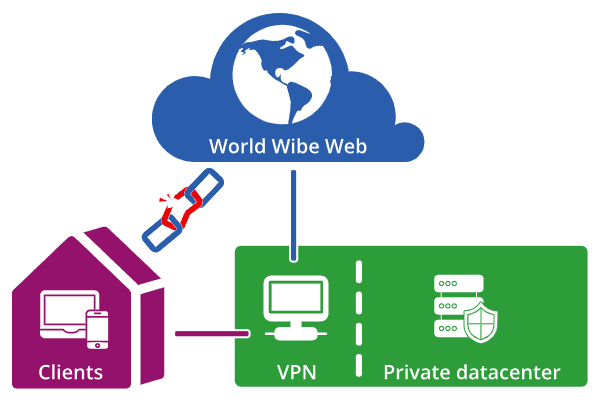
A Virtual Private Network (VPN) is a connection method used to add security and privacy to private and public networks.
The cluster is not available directly to the Internet. Only a few selected services are. It is secured by OpenVPN, a popular VPN server. To access the cluster, you must first open a secure connection to the cluster, sometimes called a tunnel. Once connected, you can access to the internal network of the cluster, its nodes and all the services it exposes.
Once connected, you will now be using our internal DNS server. In addition to resolving the Internet domain names, this new DNS server resolve the internal domain names of the cluster with their private IP. For example, the domain edge-1.au.adaltas.cloud resolve to a private IP only accessible with the VPN connected while the domain adaltas.cloud is available to everyone with an Internet connection.
Opening the VPN tunnel
You must have received an OpenVPN file via mail. Download it on your machine, that’s all we will need to configure the connection. Among other things, it contains the address of the VPN server as well as your private credentials. Do not loose or share the content of this file.
An OpenVPN client must be downloaded and installed on your machine. Here are some recommanded tools:
- Linux
The instructions vary depending on the Linux distribution. Please refer to the official OpenVPN installation documentation for additionnal instructions. Command line and GUI tools are available. The Gnome NetworkManager has a well integrated OpenVPN client available in its network settings. - MacOS
Tunnelblick is a popular and reliable choice. It integrates with the status bar as a top right icon. - Windows OpenVPN provide an official client you can use.
Windows instructions
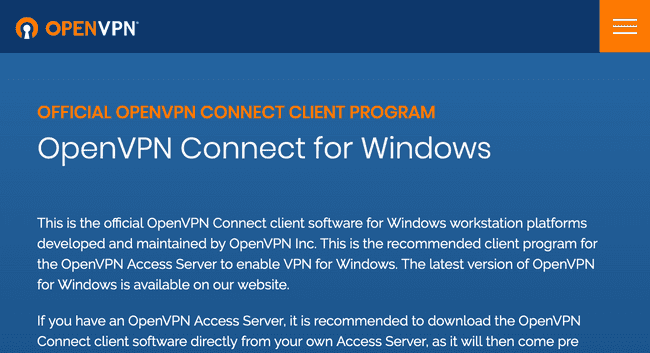
Download a VPN client for windows.
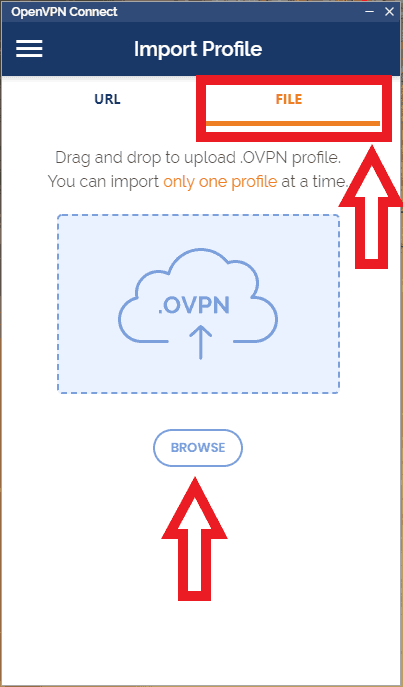
Install it and import the file to connect.
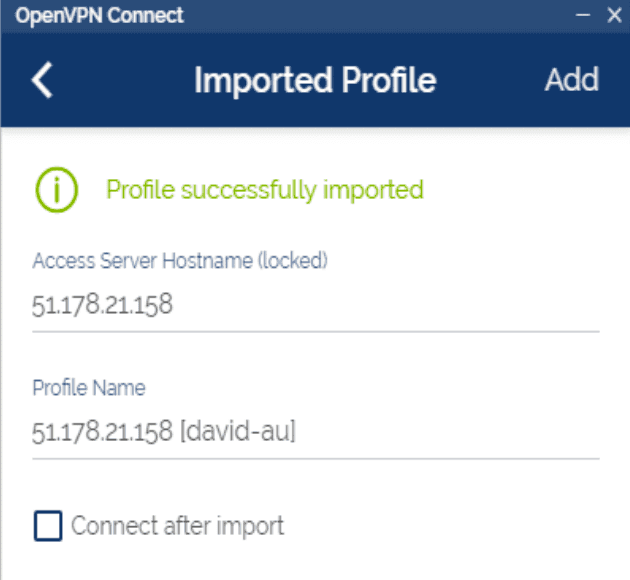
Confirm the information.
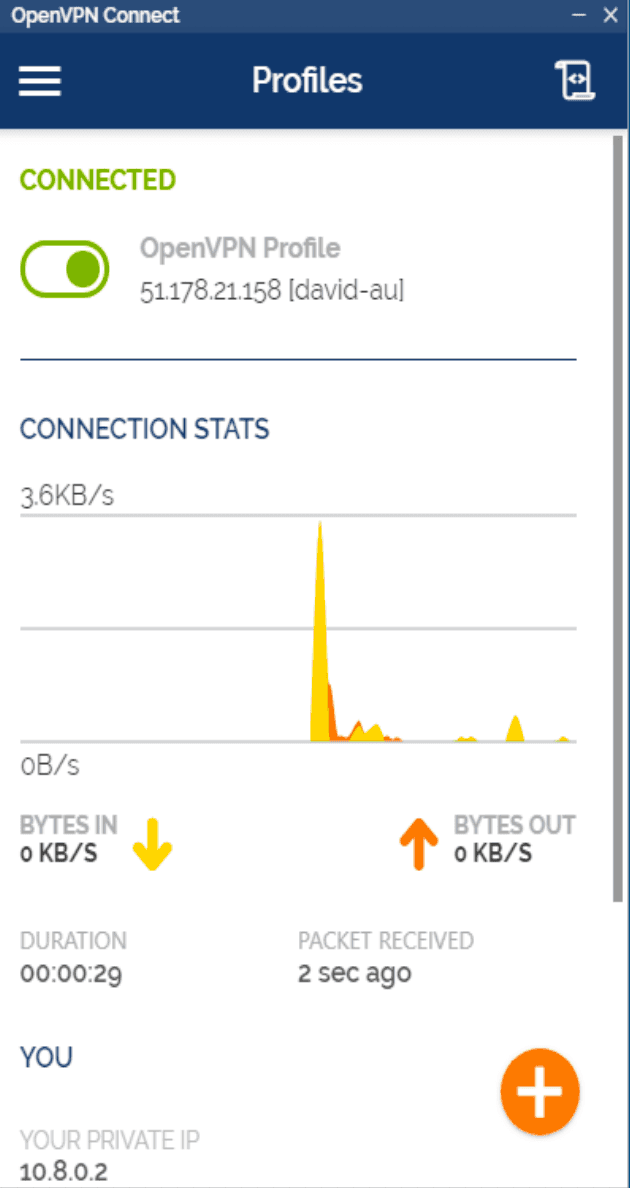
And finally activate the connection.
Linux instruction with Ubuntu
You can follow this tutorial to get up and running on Ubuntu. It describes both a command line and gui approach. Note, the GUI installation implies the usage of Gnome as your desktop environment.
Next steps
At this point, you are not authenticated with any service, you can only access them. You can connect to the edge node trough SSH and issue some commands. You can also start following one of our tutorial.
